Let's Hear It for the Dads
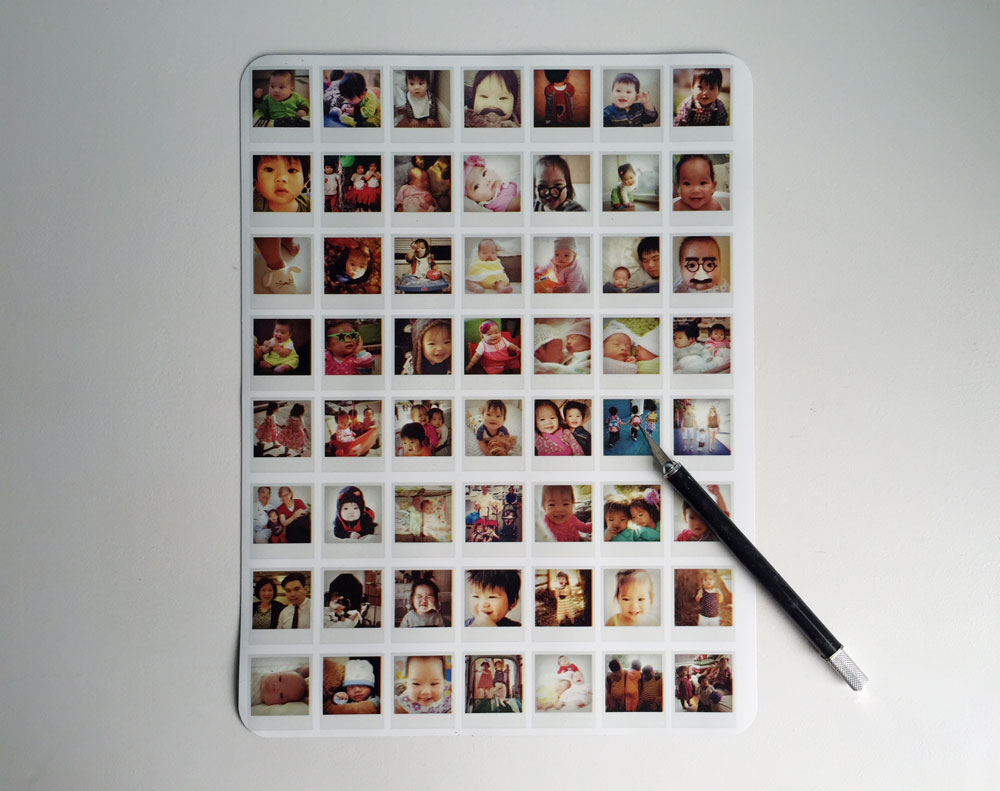
At 27 months, the husband and I find ourselves frequently repeating the refrain, "They grow so fast!" Since we have neither space nor inclination to hoard, photos are our principle means of collecting memories. And we have TONS of them. For this Father's Day, I thought it would be fun to release some images from the digital domain by making them into mini Polaroid magnets that are so popular on Pinterest. Most tutorials require at least one trip to the craft store in order to gather all the materials. We tried to simplify the steps because, really, who has the time?
What you will need:
- Adobe Photoshop
- Photos in digital format (we pulled images off of our Facebook page)
- Craft knife
STEP 1: Create a new 8.5" x 11" document at 300 dpi. This is the file that we will use to print our magnets from.
STEP 2: Download and install the free Polaroid action set.
STEP 3: Open up a digital photo. Apply the Type 600 action. Flatten the resulting image.
STEP 4: Paste the flattened image into the new document. Scale down the image to be 1" wide.
STEP 5: Repeat steps 3 & 4 until you have all of your desired images in the new document. We decided to maximize our space by fitting 56 images (8 rows of 7). Save this document as a print-ready PDF.
STEP 6: Purchase an XL Photo Magnet at Vistaprint (or any print service that makes 8.5" x 11" photo magnets), and upload your completed design. We ordered two sets, one for Dad and one for Grandpa.
STEP 7: Wait in anticipation for your magnets to arrive. Note that magnet prints were not as sharp as we would have liked, but it's sufficient for tiny magnets.
STEP 8: Using your craft knife and a straight edge, trim out the individual magnets. Marvel at your own craftiness.
Granted, it takes working knowledge of Photoshop to create these magnets, but I love how little physical labor this project requires and how essentially no supplies are needed. And, the Father's Day mug we had just made is perfect for holding these little cuties!


